

Big deals
STM ChargeTree
Apple Watch
Theme Translation & Module Settings
Here are the following steps you need to follow In order to translate the theme language.
1. Head over to the left-hand side panel of the PrestaShop’s Dashboard.
2. Now, find an INTERNATIONAL menu which is located right under the IMPROVE section.
3. Click on INTERNATIONAL, and you’ll see the Translation option at last. Click on it, and the Modify translations page will open.
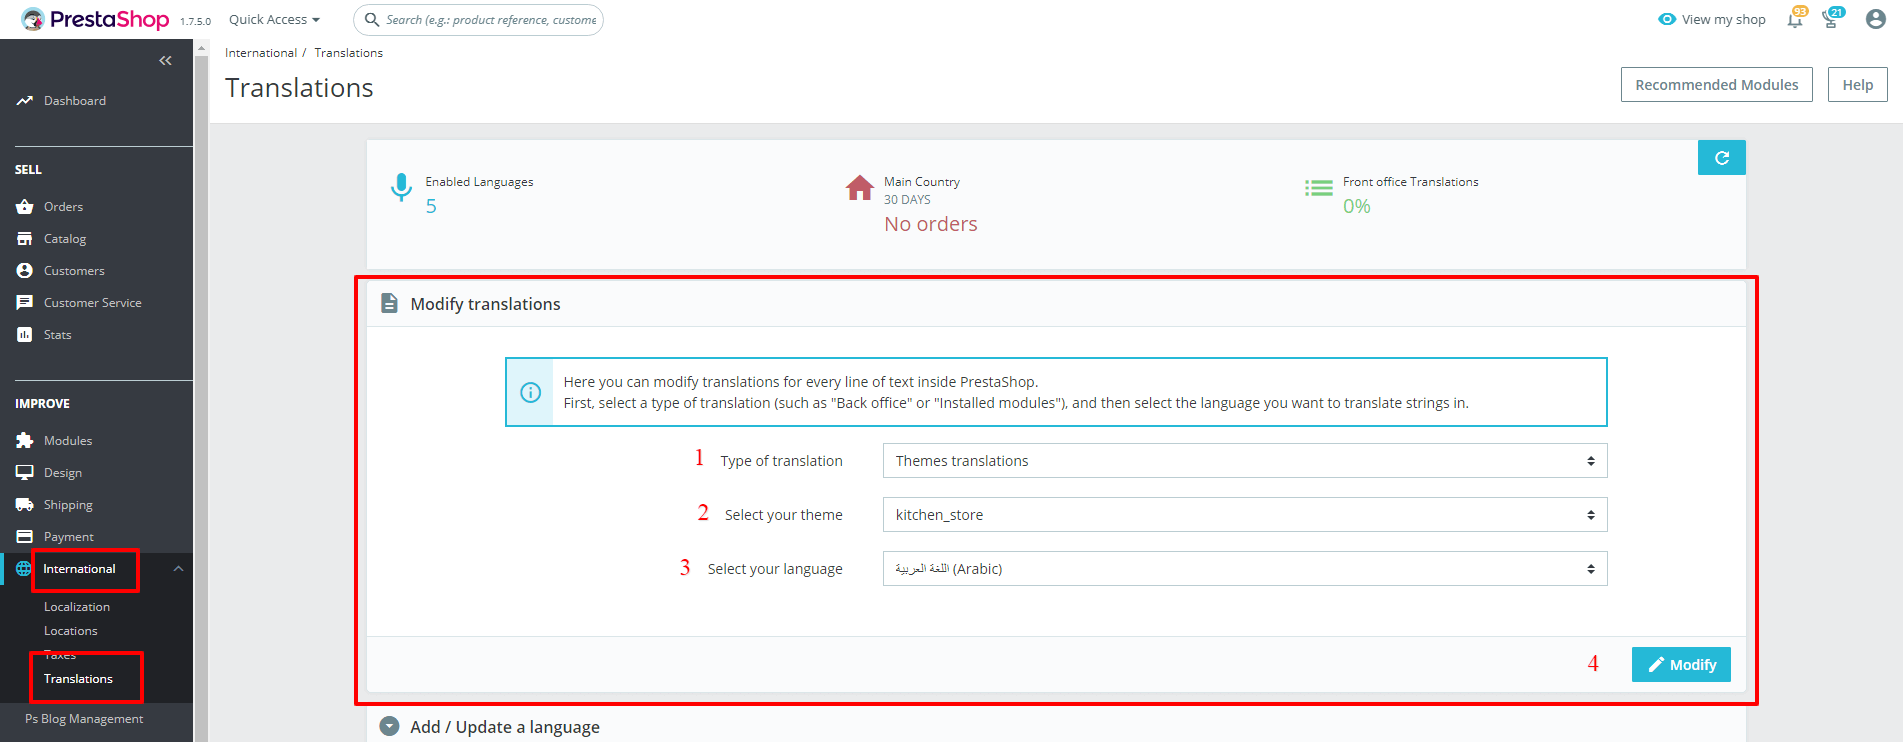
4. NOW, select the type of translation, theme, and language, then hit the Modify button.
5. A new page will open. Now add the word you want to translate in the search translation (search box).
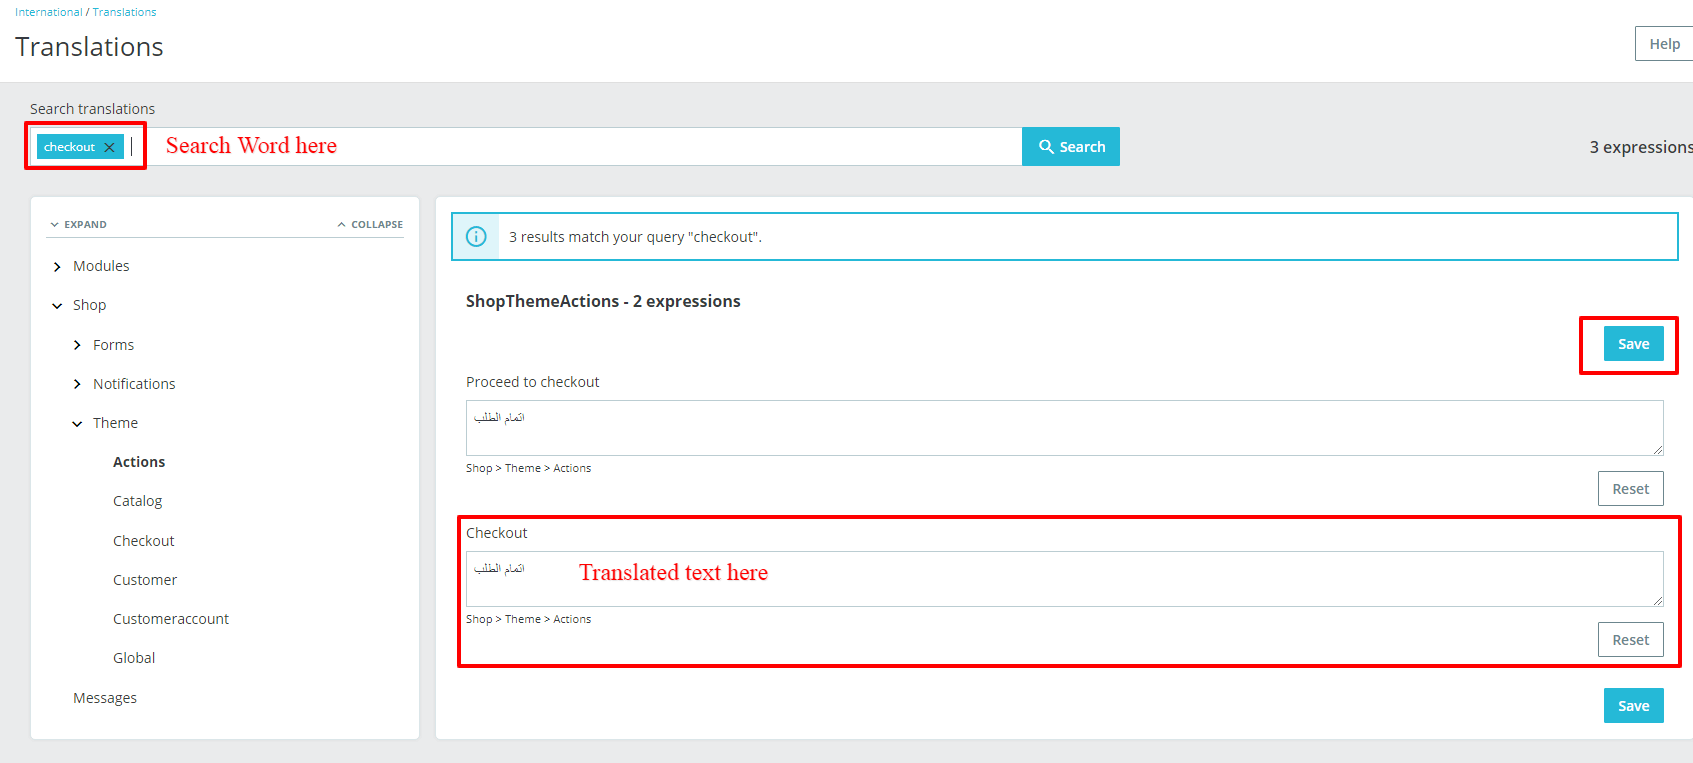
6. Then, add the translated word (your preferred language) in the checkout box and hit SAVE.
7. That’s it, your theme translations have been successfully updated.
Now you need to configure few modules which will enhance your store and make it look like our live demo.
Go to Modules > Modules & Services, click on Installed modules tab and configure all the modules provided by CoderPlace.
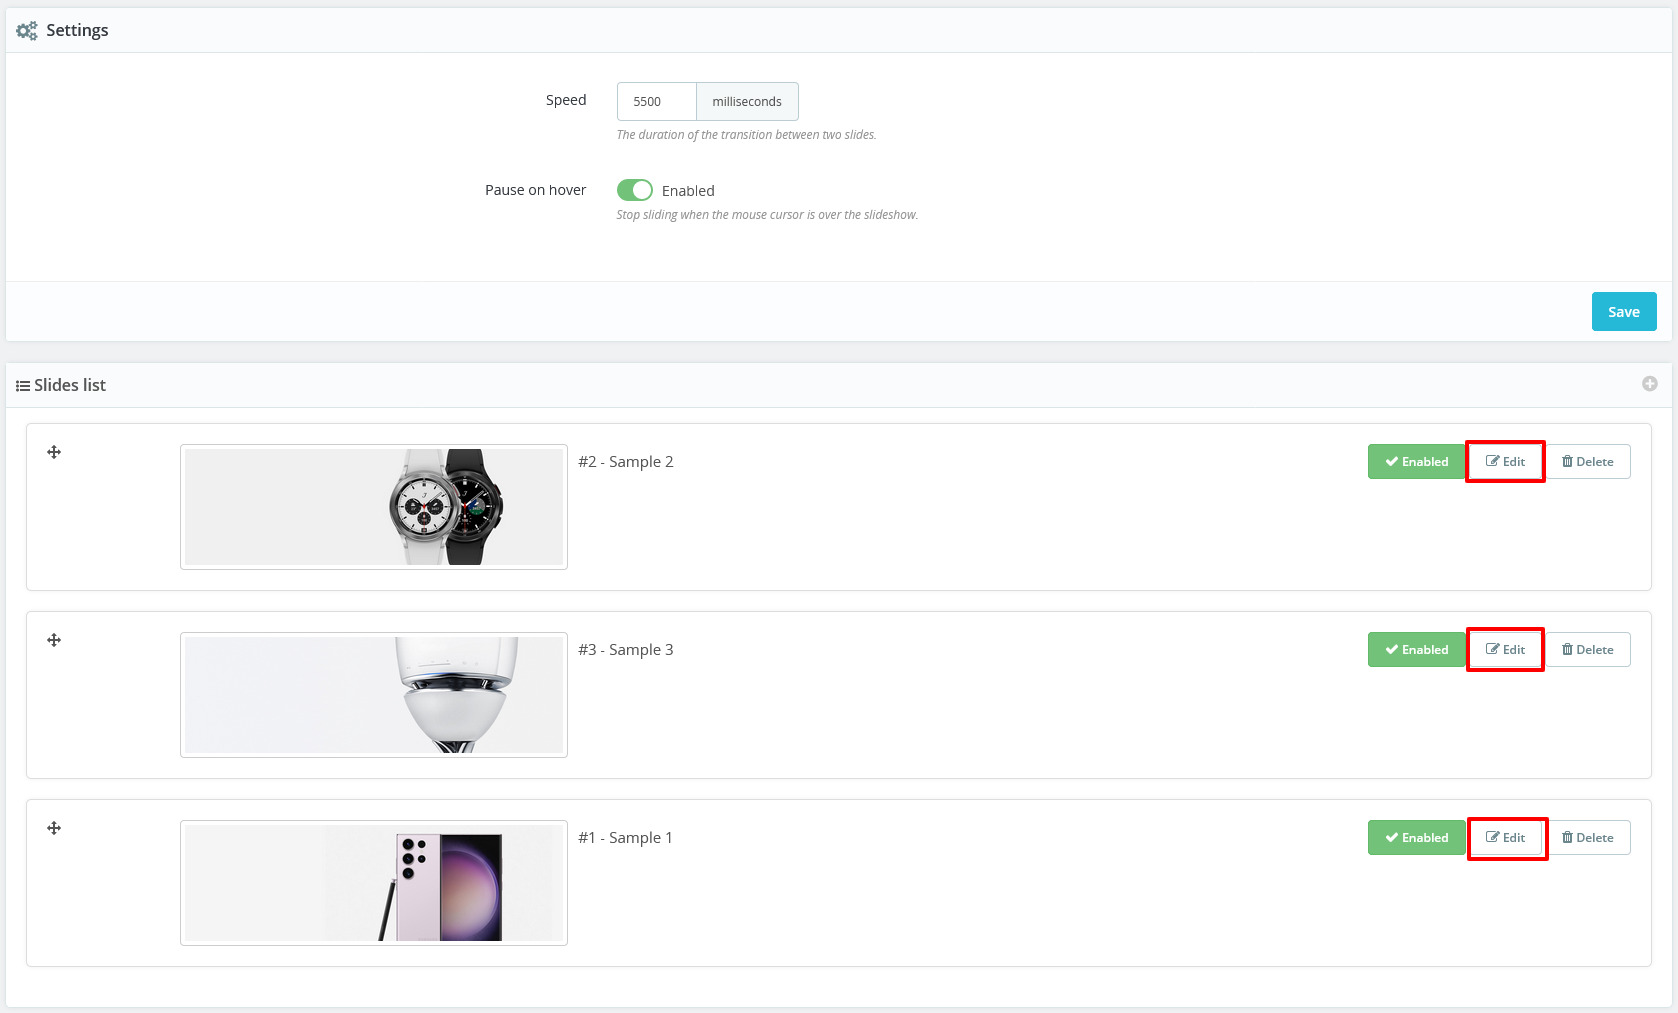
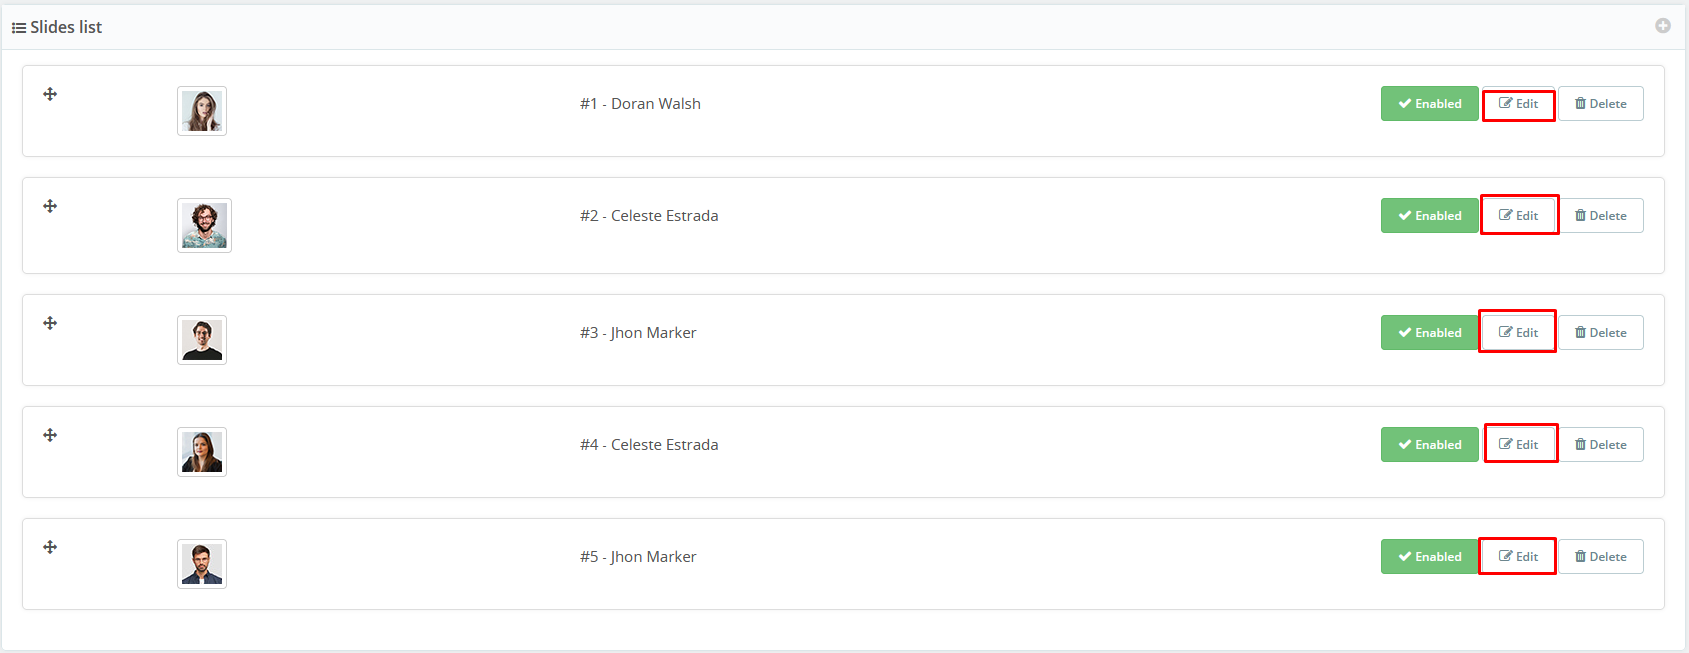
CP - Image Slider. Click on Configure.

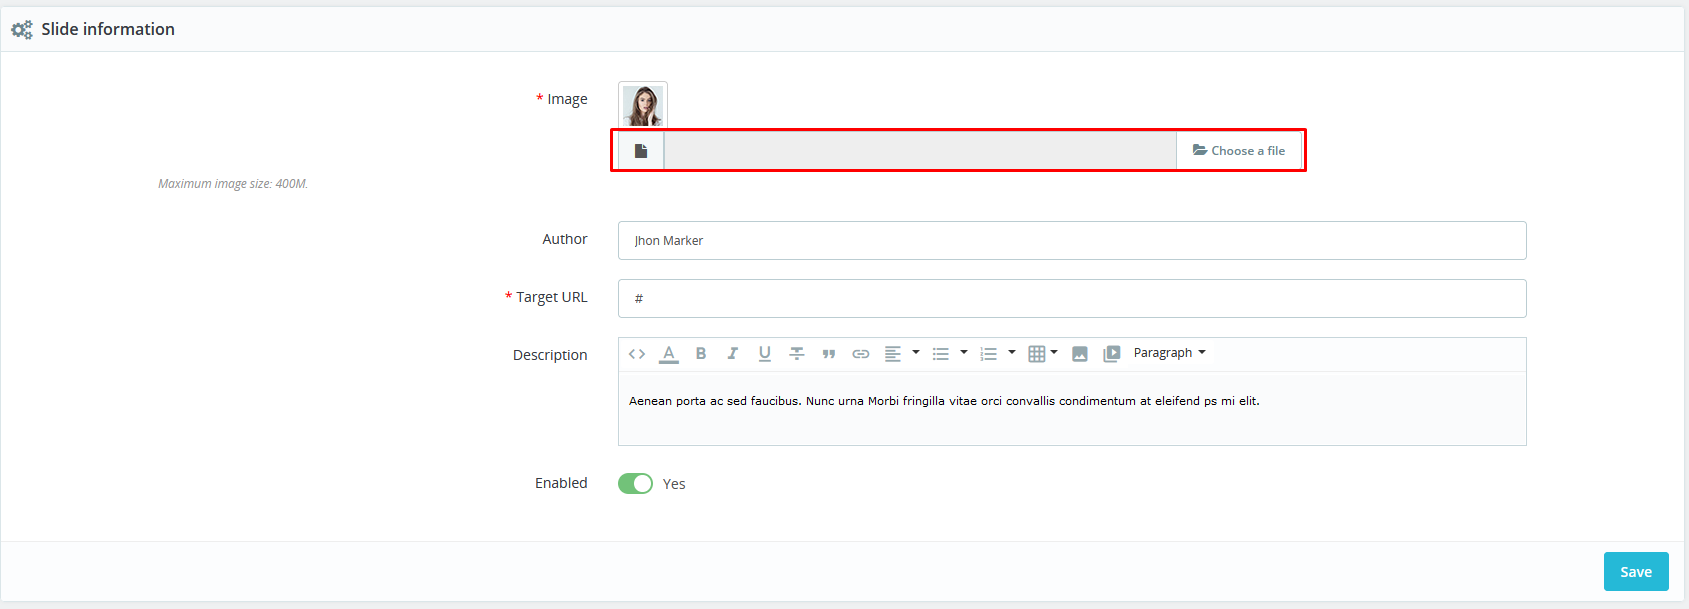
Select Edit button in Sample 1 slides list.
Upload your slider image and then click on Save button.
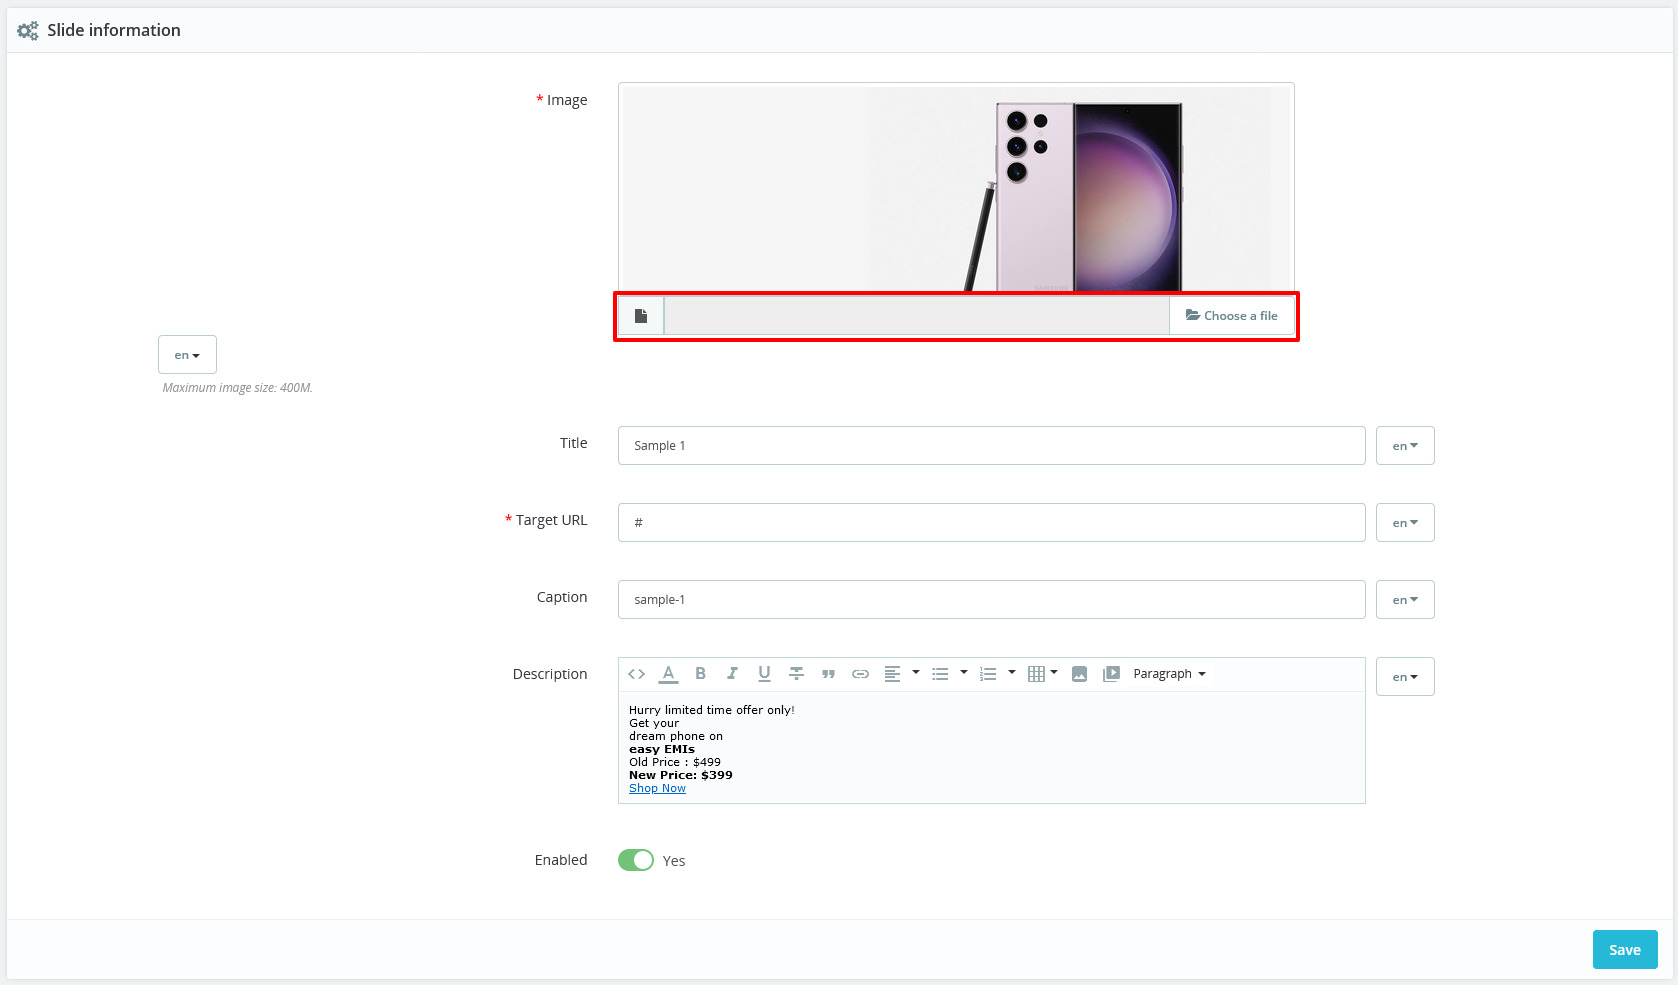
HTML code for slider image
After that Click on Save button.
CP - New Products. Click on Configure.
After that Click on Save button.

CP - Featured Products. Click on Configure.
After that Click on Save button.

CP - Specials Block. Click on Configure.
After that Click on Save button.

CP - Brand Logo. Click on Configure.
After that Click on Save button.

CP - Left Banner. Click on Configure.
After that Click on Save button.

Click on source code button Display in Screenshot and paste below HTML code for CP - Left Banner and click on Source code button.

                            Discover Brand
                            Fresh Deal At 50%
After that Click on Save button.
CP - Bestseller block . Click on Configure.
After that Click on Save button.

CP - Header CMS 1. Click on Configure.

Click on source code button Display in Screenshot and paste below HTML code for CP - Header CMS 1 and click on Source code button.
Get Up To 50% OFF New Season Styles, Limited Time Only.
After that Click on Save button.
CP - Service Block . Click on Configure.

Click on source code button Displayed in Screenshot and paste below HTML code for CP - Service Block and click on Source code button.
After that Click on Save button.
CP - CMS Banner1. Click on Configure.

Click on source code button Displayed in Screenshot and paste below HTML code for CP - CMS Banner1 and click on Source code button.
Big deals
STM ChargeTree
Apple Watch
 Trending
Samsung Galaxy
Tablets
Trending
Samsung Galaxy
Tablets
 30% OFF on every
ANSI Lumen
Projector
30% OFF on every
ANSI Lumen
Projector
 Trending
Magic Keyboard
For iPad
Trending
Magic Keyboard
For iPad
After that Click on Save button.
CP - CMS Banner2. Click on Configure.

Click on source code button Displayed in Screenshot and paste below HTML code for CP - CMS Banner2 and click on Source code button.
 New arrivals
standing smart camera
Up to 70% off
 Big deal for
Smart look
Big deal for
Smart look
Samsung Gear
After that Click on Save button.
CP - Product Hover Image. Click on Configure.

CP - Footer CMS 1. Click on Configure.

Click on source code button Displayed in Screenshot and paste below HTML code for CP - Footer CMS 1 and click on Source code button.

After that Click on Save button.
CP - Testimonial Block on Configure.

Select Edit button in Sample 1 testimonial list.
Upload your testimonial image and then click on Save button.
HTML code for testimonial image
Contrary to popular belief, Lorem Ipsu not simply random text. It has roots in piece of classical Latin literature from
After that Click on Save button.
CP - Sidebar New Product. Click on Configure.

After that Click on Save button.
CP - Sidebar Featured products. Click on Configure.

After that Click on Save button.
Product Comments. Click on Configure.

After that Click on Save button.
CP - Product Countdown . Click on Configure.

After that Click on Save button.
CP Feature. Click on Configure.

After that Click on Save button.
CP CouponPop Module. Click on Configure.

After that Click on Save button.
CP Cookie. Click on Configure.

After that Click on Save button.
CP Parallax Images . Click on Configure.

After that Click on Save button.
CP - Category List Block. Click on Configure.

After that Click on Save button.
CP - Sizechart CMS Block . Click on Configure.

Click on source code button Displayed in Screenshot and paste below HTML code for CP - Sizechart CMS Block and click on Source code button.
                            Size
                            S
                            M
                            L
                            XL


                            Men
                            7-10
                            10-13
                            13-15
                            15-17


                            Women
                            7-9
                            10-12
                            13-14
                            15-16


Example Shown : SIZE XL, Hem to Hem 84cm OR 33 ,SIZE L, Hem to Hem 84cm OR 33 ,SIZE M, Hem to Hem 84cm OR 33 ,SIZE S, Hem to Hem 84cm OR 33
After that Click on Save button.
CP - Shipping CMS Block . Click on Configure.

Click on source code button Displayed in Screenshot and paste below HTML code for CP - Shipping CMS Block and click on Source code button.
                            Use collapsible tabs for more detailed information that will help customers make a purchasing decision.
                            Ex: Shipping and return policies, size guides, and other common questions.
After that Click on Save button.
CP - Category Product Slider. Click on Configure.

After that Click on Save button.
CP - Theme Options. Click on Configure.

After that Click on Save button.
CP - Theme Options. Click on Configure.

After that Click on Save button.
CP - Theme Options. Click on Configure.

After that Click on Save button.
CP - Theme Options. Click on Configure.

After that Click on Save button.
CP - Header CMS 2 . Click on Configure.

Click on source code button Displayed in Screenshot and paste below HTML code for CP - Header CMS 2 and click on Source code button.
After that Click on Save button.
CP - CMS Banner3 . Click on Configure.

Click on source code button Displayed in Screenshot and paste below HTML code for CP - CMS Banner3 and click on Source code button.
 New arrivals
standing vintage fans
Up to 70% off
 Big discount
on ipad case stand
Start From
$129
After that Click on Save button.